
Unit studies are one of my favorite ways to generate excitement in our homeschool. I use them for everything! So much so, that I don’t even recognize when I’m creating them anymore.
We recently returned from a weekend at dog camp – As an aside, did you even know that such a thing exists? It is awesome to see dozens of kids sleeping and playing beside their dogs.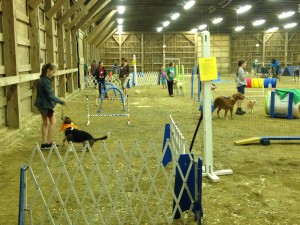
While there, I had the joy of working with the cloverbuds (pre-4-H-ers). I am not someone who can take charge of kids for hours on end without a plan, so I decided to make them a Lady & the Tramp themed day. It was lots of fun!
Many of the moms popped by with comments of “How did you come up with all these ideas?” Because we have been doing this for so long, I no longer think about how I do it, so I had a hard time answering them. It took a bit of backtracking, but I figured out my steps:
1. Select a Book
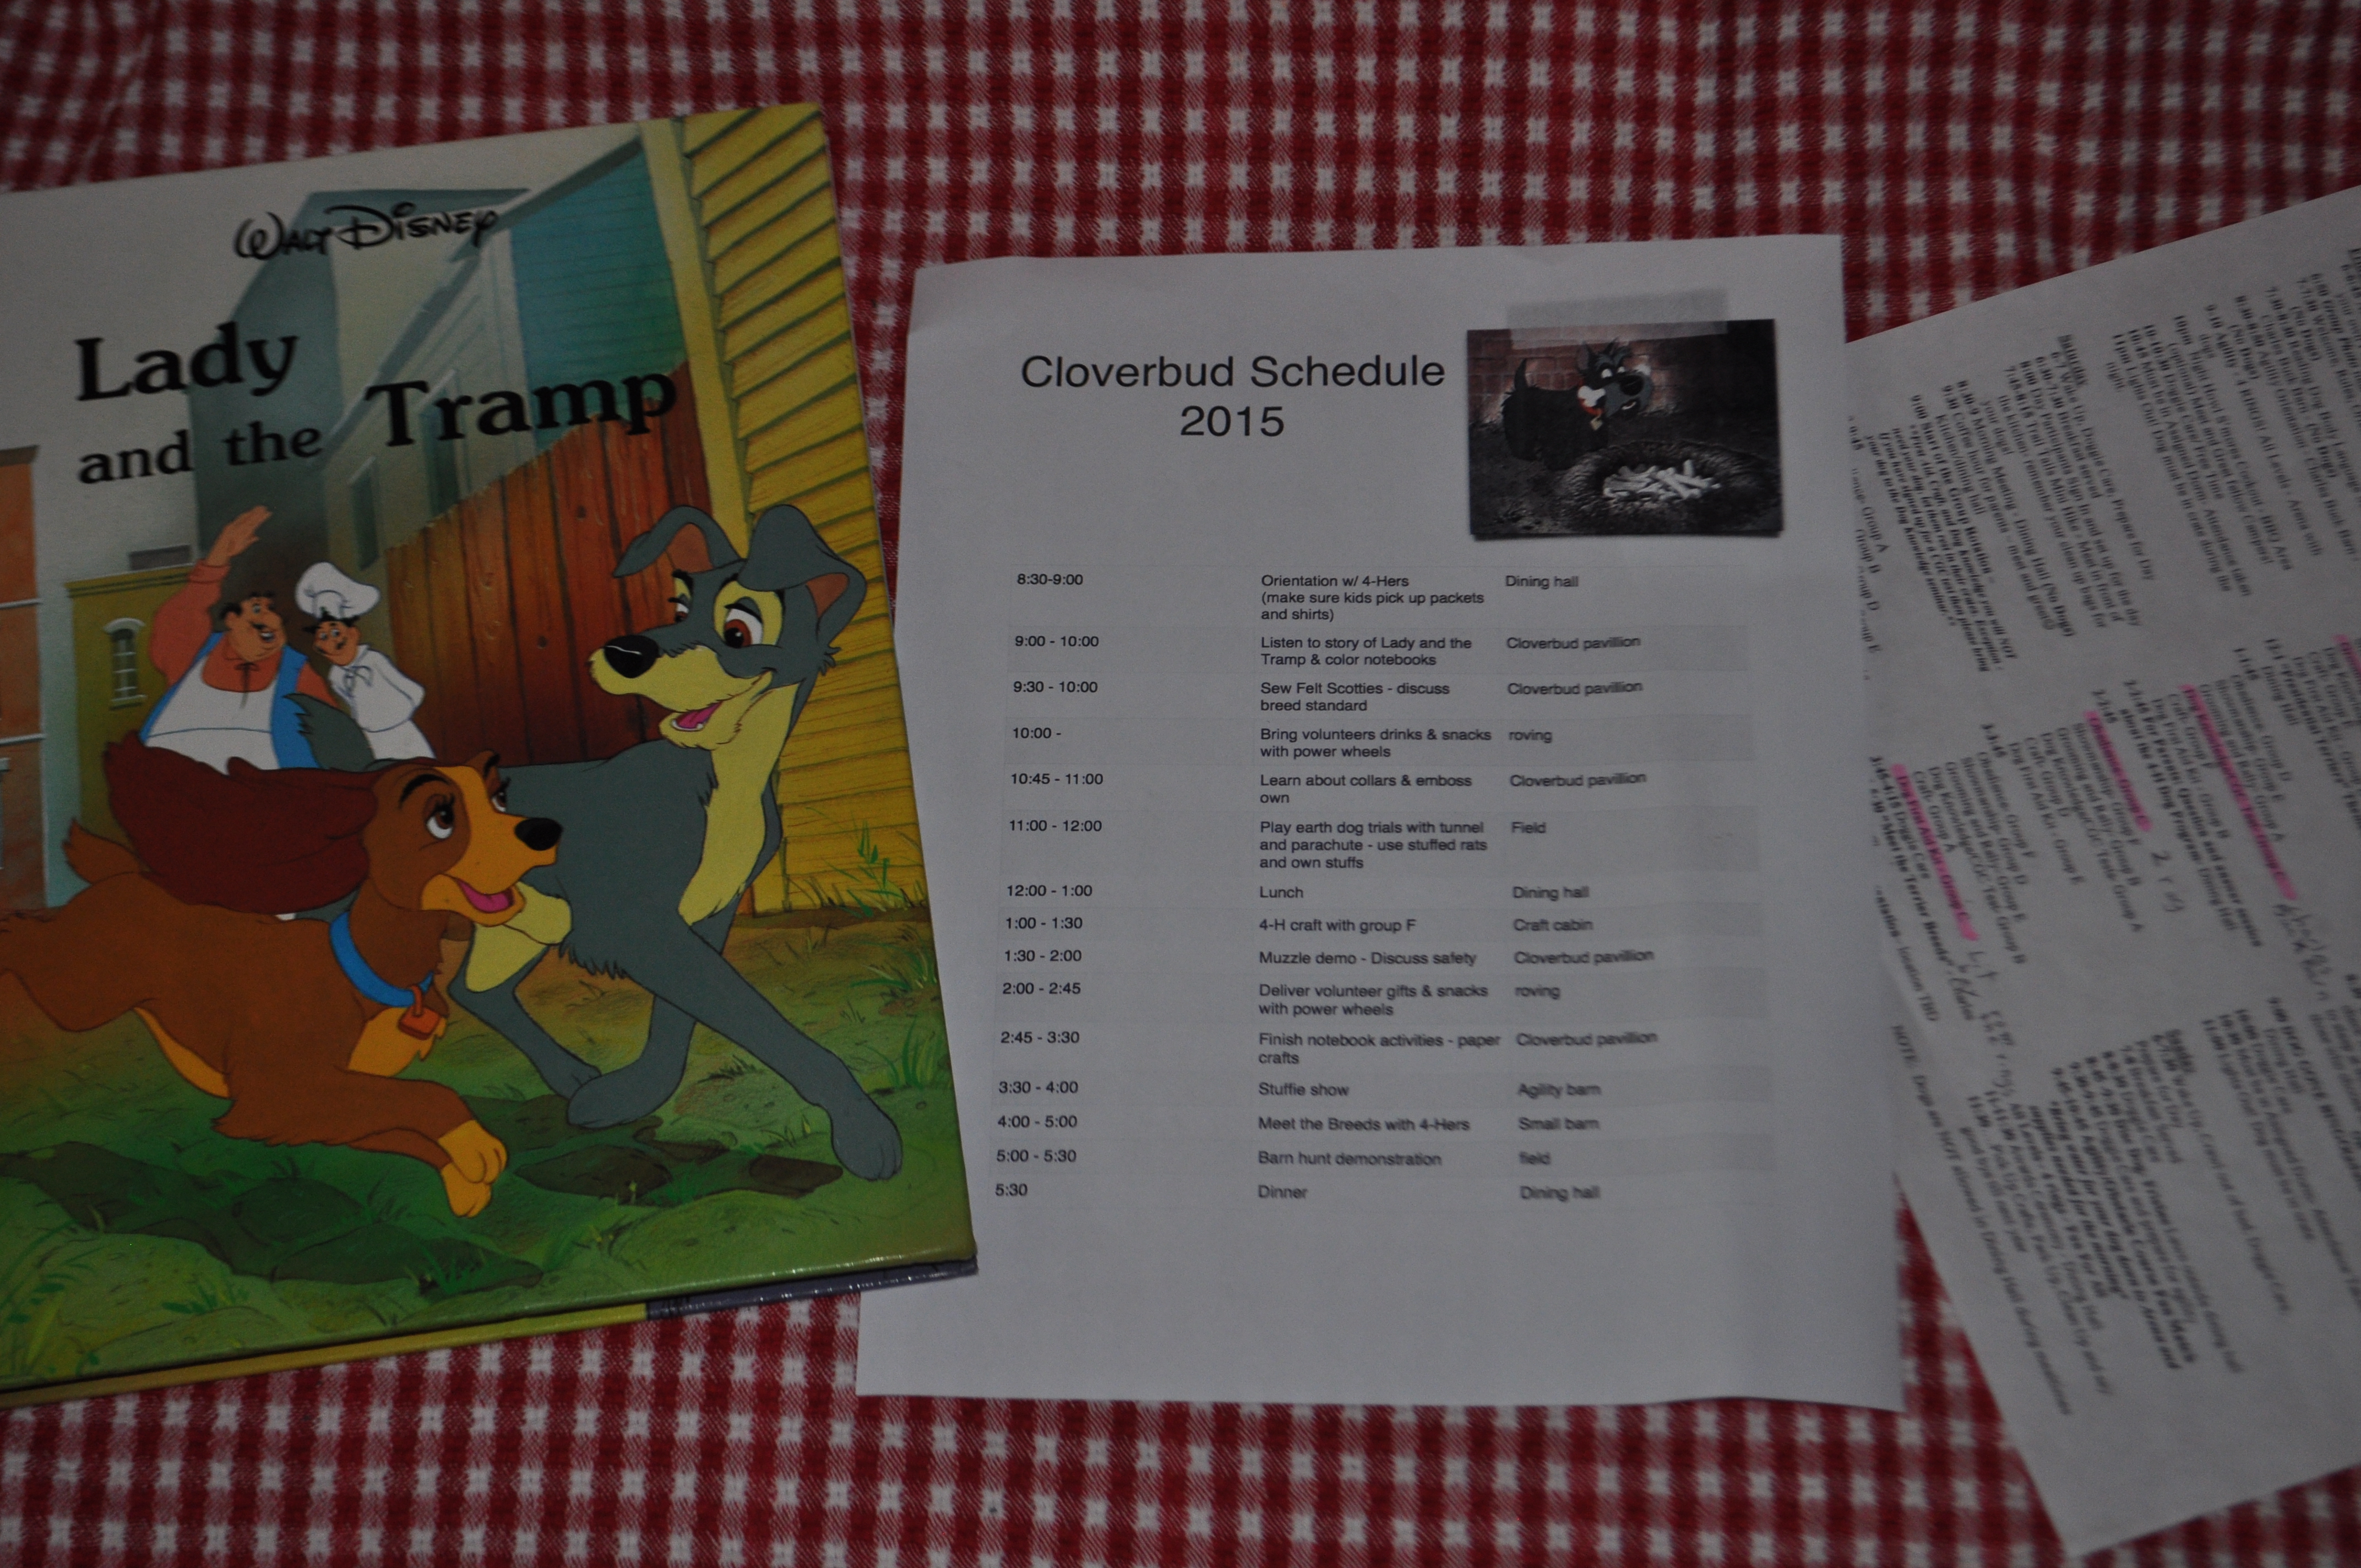 Any book will do. For little kids like the ones I was working with for this project, pick something that you can read in one sitting. You may want to have more than one copy on hand so that they can all see the pictures.
For older students, you will need to decide how you want to read the book. One chapter at a time? Complete the entire book before hand? Listen to an audiobook together? We have had a lot of fun with Nim’s Island and The Door in the Wall when we worked chapter by chapter. The unit generally takes more time than necessary this way, but makes the experience a lot more fun. Pick your method and hand out your assignments as necessary.
2. Outline
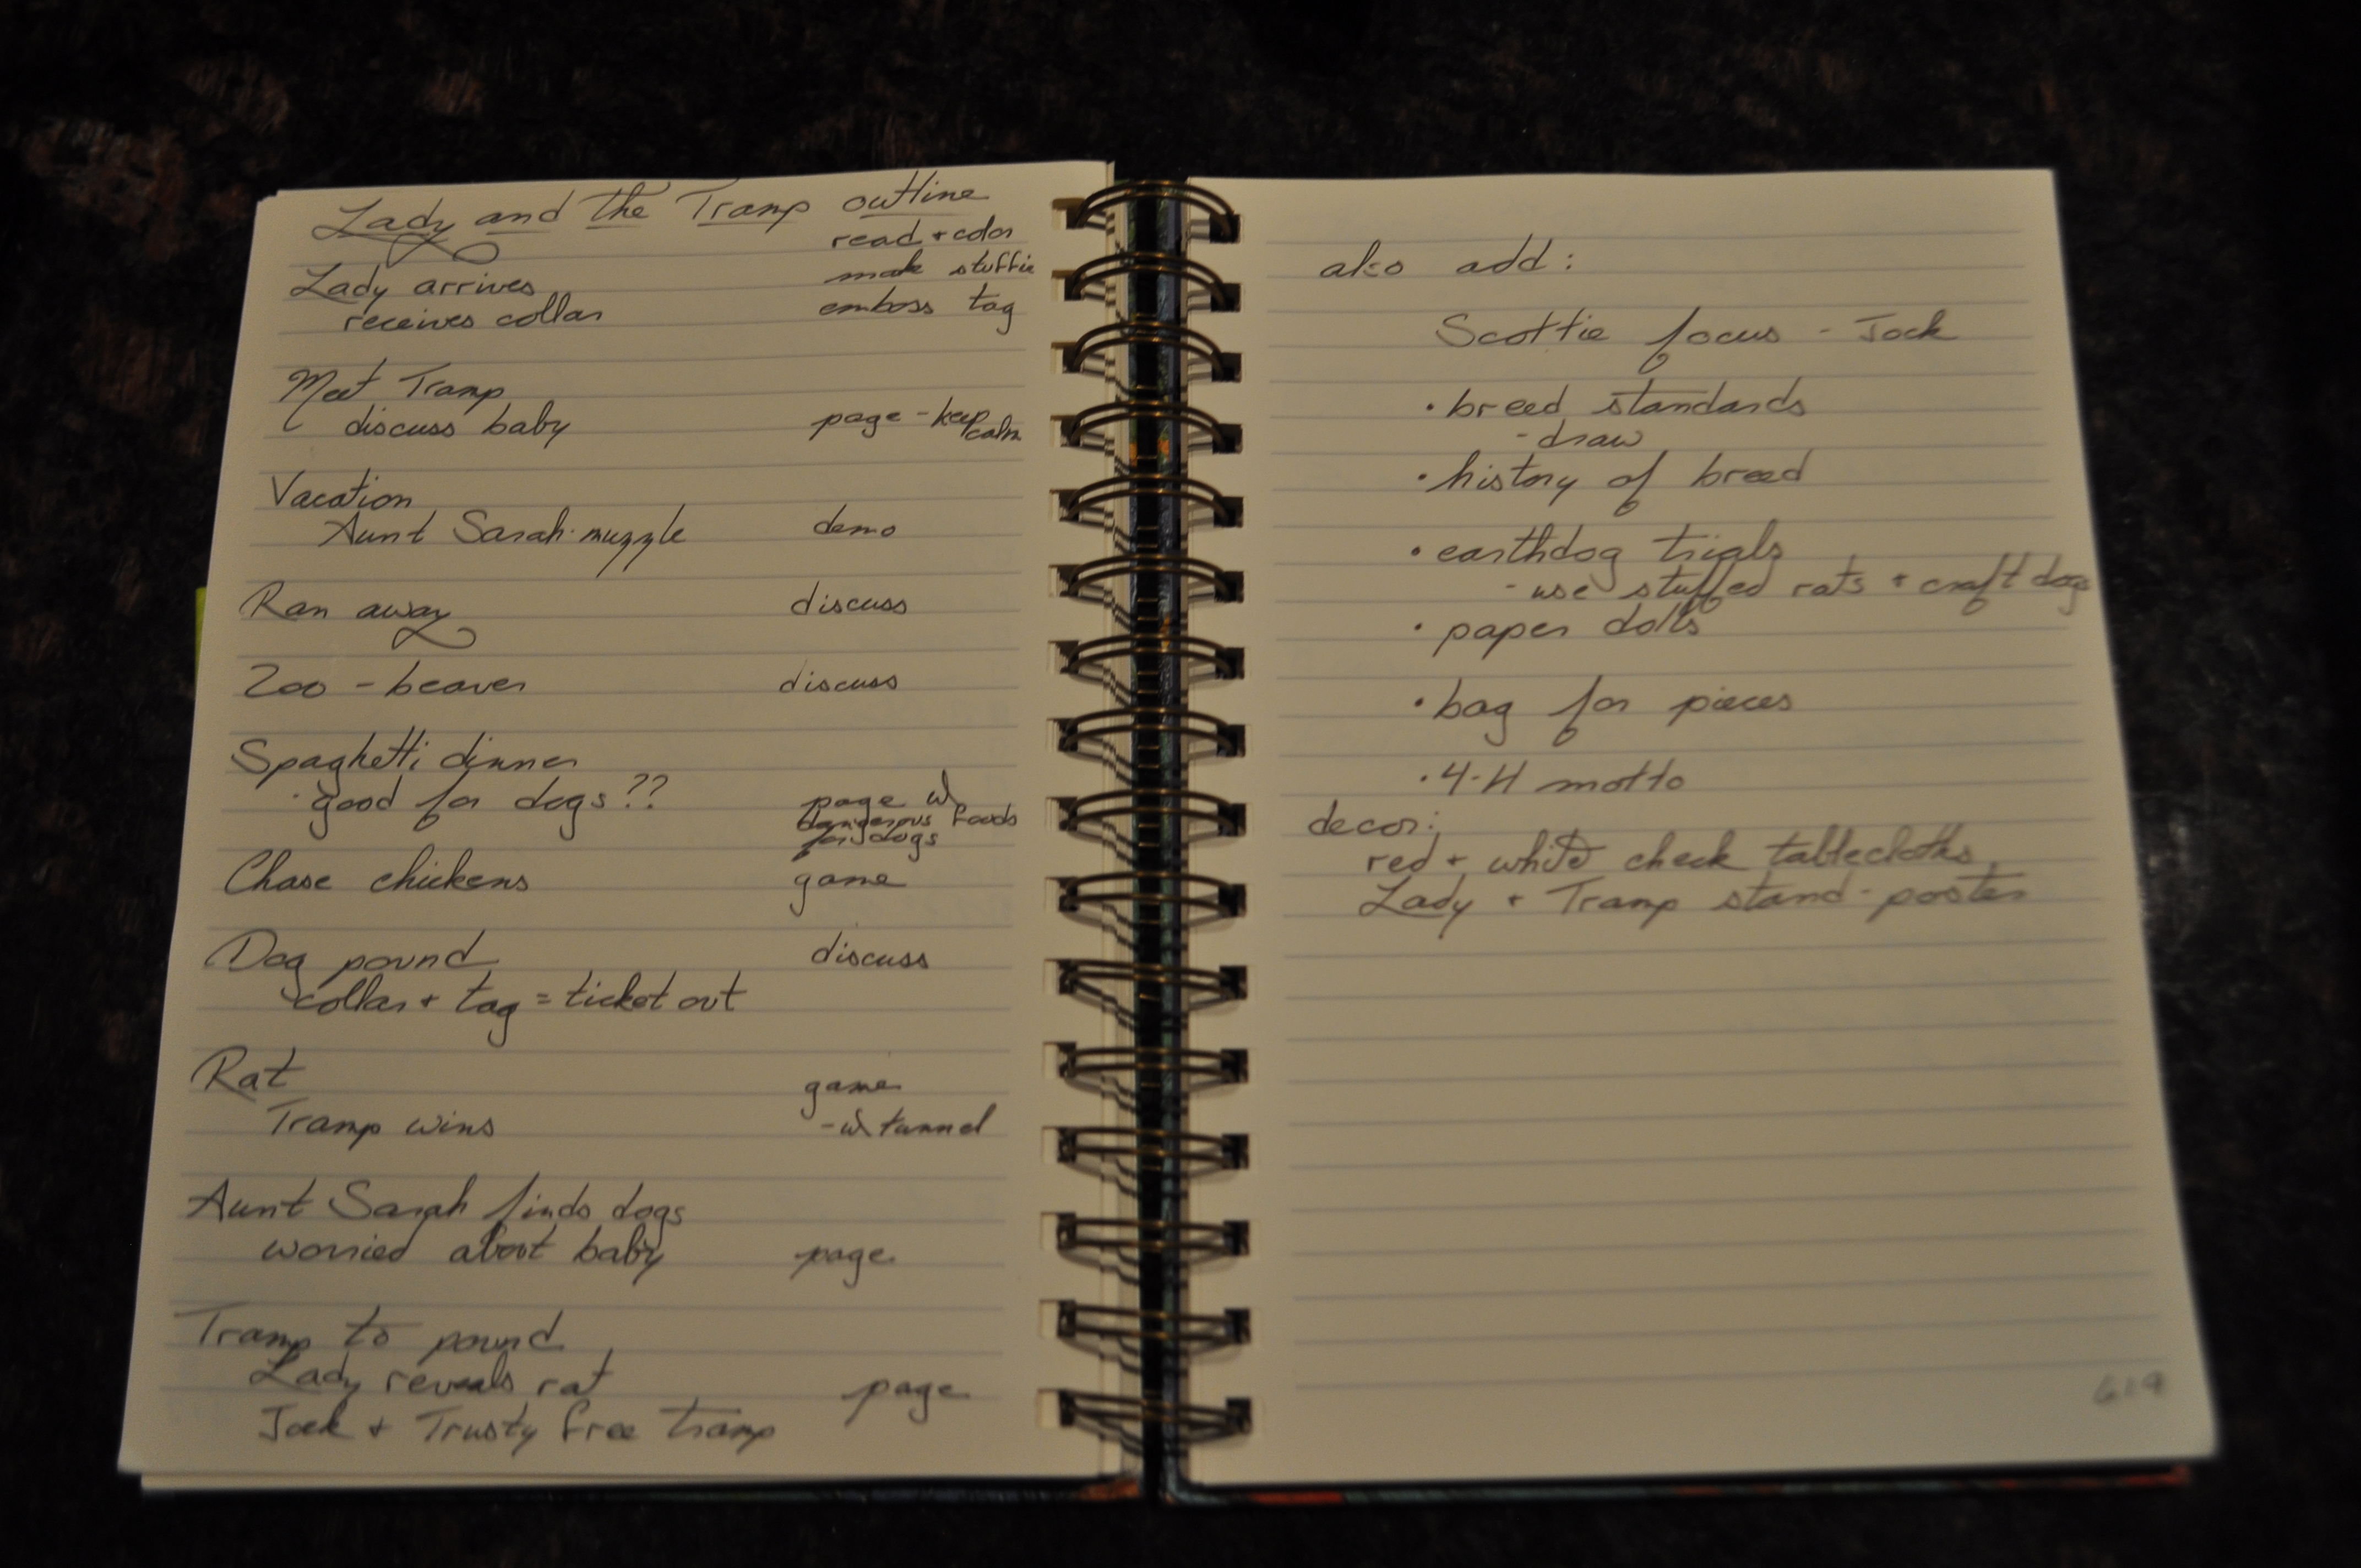 You are going to need to know the main plot points – this doesn’t need to be a formal outline, just a list of what happens. I often just open up to the front of the book and take a look at the chapter headings. You could also google your title and check to see if a plot summary is posted. This will become your schedule of activities. Write each main element on the left, leaving space on the other side of the page for the brainstorming step.
3. Brainstorm
It is time to jot down ideas for activities/snacks/writing prompts. You will make a mess of this page. Just roll with it. Messy is good when brainstorming.
Set a timer for 1 hour and do some research to see what other people have done. Borrow what you can, and start filling in the spaces in your outline. I love using Pinterest for this, as I’m a very visual person, but any web-search will do.
Get creative with your search terms. For example, in working with Lady and the Tramp I chose to enter “Lady and the Tramp activities,” “Scottie printable,” “Dog food safety images,” “Rat hunt game” etc.
4. Choose
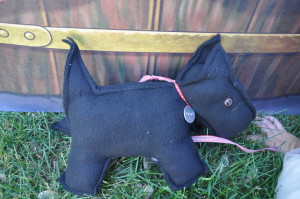
Choose of one craft – Kids love to create. They will proudly carry around a stuffed toy they made “themselves” and while their fingers are busy you have plenty of time to talk to them about some of the important items on your outline.
Choose one physical activity – This isn’t optional. If you want to maintain attention over a long period of time, children need to act out their lessons, even the older ones. What can you turn into a game, experiment, or project?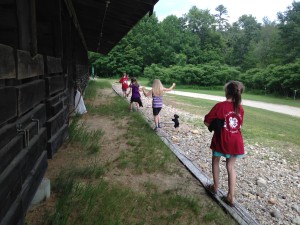
Choose of one demonstration – this doesn’t need to be complicated. Is there a word in the outline that you suspect is unfamiliar? Bring a sample to hand around. Is there a science topic you can learn more about? Show them how to do it.
Consider adding a snack – kids need to eat during the day to maintain their energy. A themed snack can be lots of fun. ***this is something I often cut out in step 6 – snacks are necessary, the theme isn’t. Know how much time you have and use it wisely***
5. Document
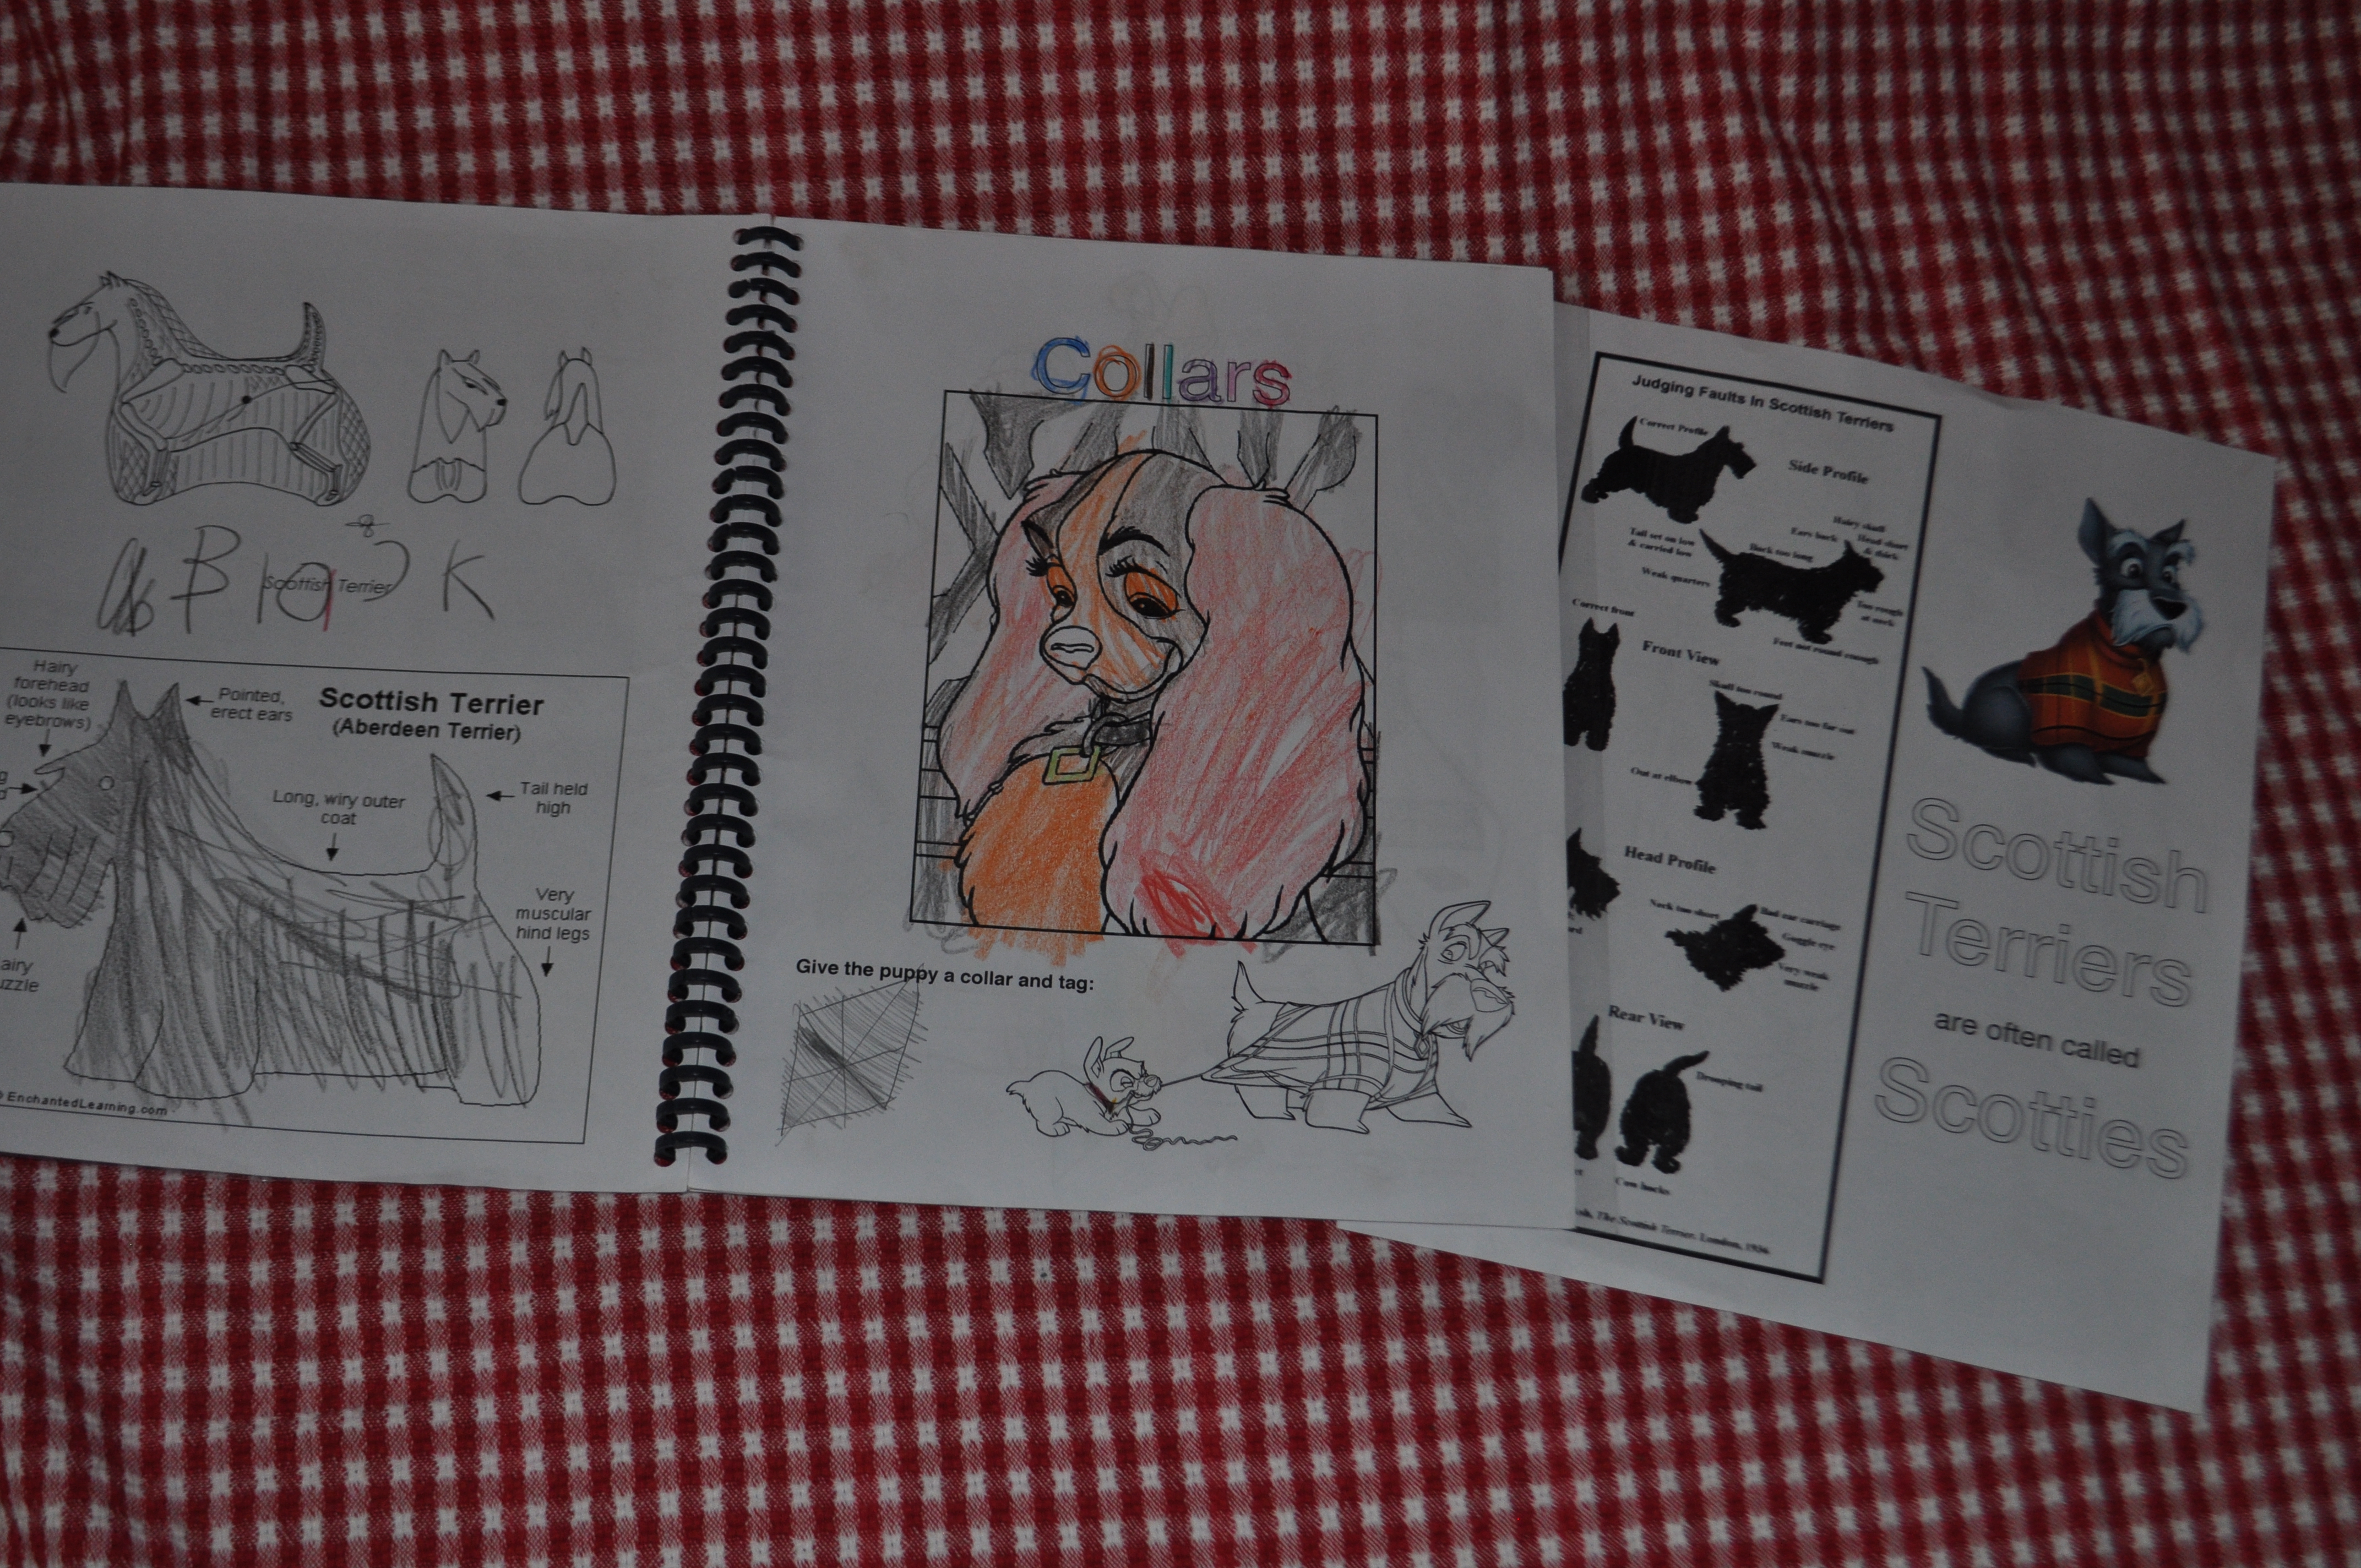 Notebooks are not only a great way to document your activities, but they help you to keep track of items you want to discuss with the kids so you don’t forget any important topics. For younger kids such as the ones I was working with for Lady & the Tramp, I like to put several appropriate coloring page images on one page, add a simple header and any special instructions. Older children need fewer images (although my pre-teens still prefer pages with images to blank notebooking pages) and larger areas to write. I love to include a few lapbooking elements for them, as it makes their notebooks more interactive. Add a few questions or writing prompts beside relevant research images or text and you’re done.
To find images: Pixabay offers free images (choose “illustrations,” “black & white” for coloring pages) as does EducationalColoringPages, and numerous other sites. Lapbooking elements can be found for free at Currclick (choose “free” at the bottom of the left hand bar to narrow your search).
(Note: Images shown are used by permission. Some are free-use, but not all. Because I do not have authorization to share them publicly and will not respond to requests for this notebook.)
6. Eliminate
Remove at least two things from your list. (I know, I know, but do it anyway.) If you are anything like me, you will have more ideas than time, energy, and money. Pick two that you either aren’t terribly excited about, or that will be very time consuming to prep, and cross them off your list. This will give you the freedom to do a really good job preparing for the items you choose to keep, rather than spreading yourself too thin.
7. Gather Supplies
 The next thing you’ll need to do is make sure you have what you need to implement your ideas. Make a list of everything necessary for your craft, activities, etc. and tape it to the top of a box. This can get long. Toss things in as you go along, and cross them off.
Secret hint: Little theme-y items don’t create excitement. You could have dozens of tiny gift bag items that go with your theme, and it won’t make much of an impact, so save your money. Instead, if you must decorate, choose one large focal point.
You now have a ready-made list of items to pick up so you won’t be scrambling at the last minute.
You’re done!
See, it wasn’t that hard – Come up with ideas, gather supplies, and go! What book will you choose?

I love how you said to eliminate a couple of the activities. Often people feel like they have to do everything they planned, and then they are disappointed in themselves when they just don’t have enough energy to do it all.
I love this idea. I don’t have children to homeschool (or any children at all!) but I used to help run a youth group for 6-10 year olds. This is a fantastic spring board for great kids’ entertainment.